Upload your own custom icons to your website using Elementor Pro’s Custom Icons feature. You can use Fontello, Icomoon, or Fontastic for the job.
Table de matières
Creating your font set
Fontello
- Go to http://fontello.com/
- Choose some icons, or upload your own custom SVG files
- Click the wrench. Add a CSS prefix. Make sure it’s unique
- Give your font a name
- Download the font (zip file)
IcoMoon
- Go to https://icomoon.io/app
- Choose some icons, or upload your own custom SVG files
- Click on the ‘Generate Font’ tab
- Click the 기본 설정 button
- Give your font a name
- Under ‘Class prefix’, give it a unique prefix
- Click the X to exit
- Click ‘Download’ to download your font (zip file)
Fontastic
- Create a Fontastic 계정
- Select some icons or alternatively import your own
- To import click ‘Add More Icons’ in the top menu bar
- Click on the ‘Modify Font’ tab
- Give your font a name
- Give your font a unique CSS Class Prefix
- 클릭 Save
- Go to the ‘Publish’ tab
- Click ‘Download’ to download your font (zip file)
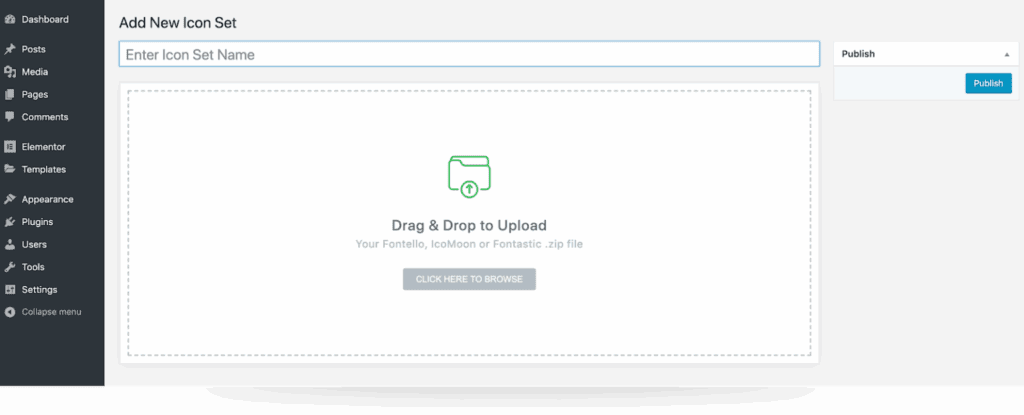
Installing your Font Set
In the WordPress dashboard go to:
- Elementor > Custom Icons
- 클릭 Add New
- Drag & Drop your font zip file
- Enter your icon set name
- 클릭 Update
- You will now find your new custom icons under the ‘Custom Icons’ area, where you’ll see your icon set name, icons number indicator and your unique CSS Prefix for each icon set.

0개의 댓글