O plug-in BROUAVO Dashboard permite que os membros pesquisem, instalem e gerenciem todos os plug-ins Pro em uma única tela.
O BROUAVO Dashboard é necessário para conectar seu site ao BROUAVO Hub e ativar os recursos Pro em todos os nossos plug-ins. As etapas a seguir o guiarão pelo processo de download, instalação e ativação do plug-in e, em seguida, pela sincronização do seu primeiro site com a BROUAVO.
1.1 Instruções de download
Para sincronizar seu site com o BROUAVO, você deve primeiro instalar o plug-in BROUAVO Dashboard.
Você pode fazer o download do plug-in em dois locais diferentes:
- Faça o download na página do plugin Dashboard
- Download ao conectar um novo site em seu Hub
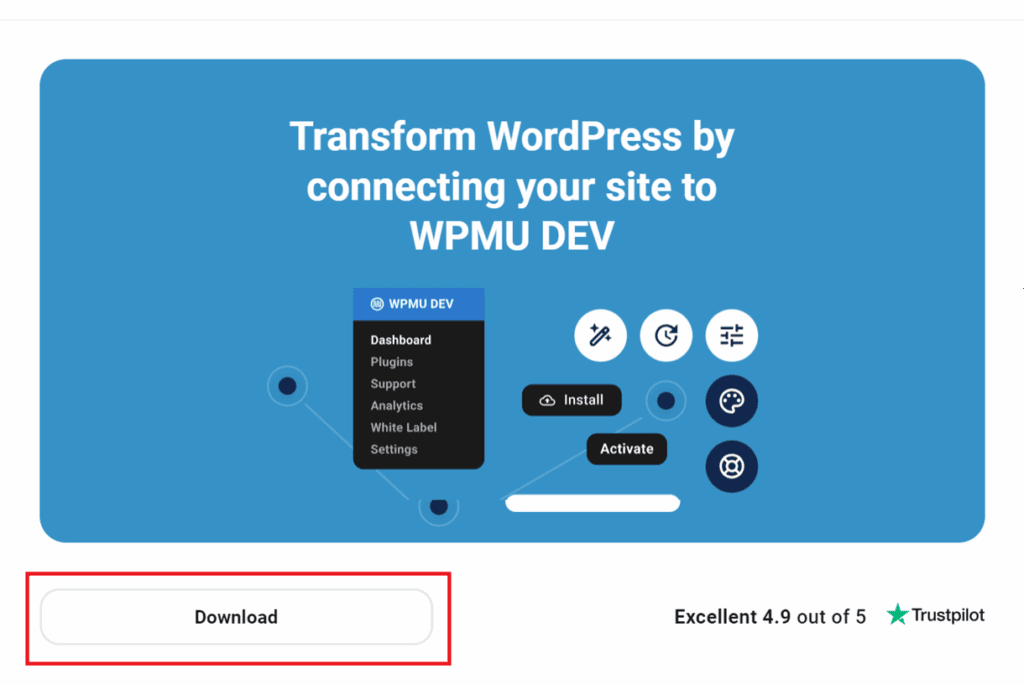
Faça o download na página do plugin Dashboard
- Verifique se você está conectado a brouavo.com
- Clique em Plug-ins profissionais no menu na parte superior da página para acessar a biblioteca de plug-ins do BROUAVO.
- Percorra a biblioteca para localizar o Painel de controle e clique nele.
- Role para baixo na página e clique no botão Baixar para fazer o download do arquivo zip do painel.
Download ao conectar um novo site em seu Hub
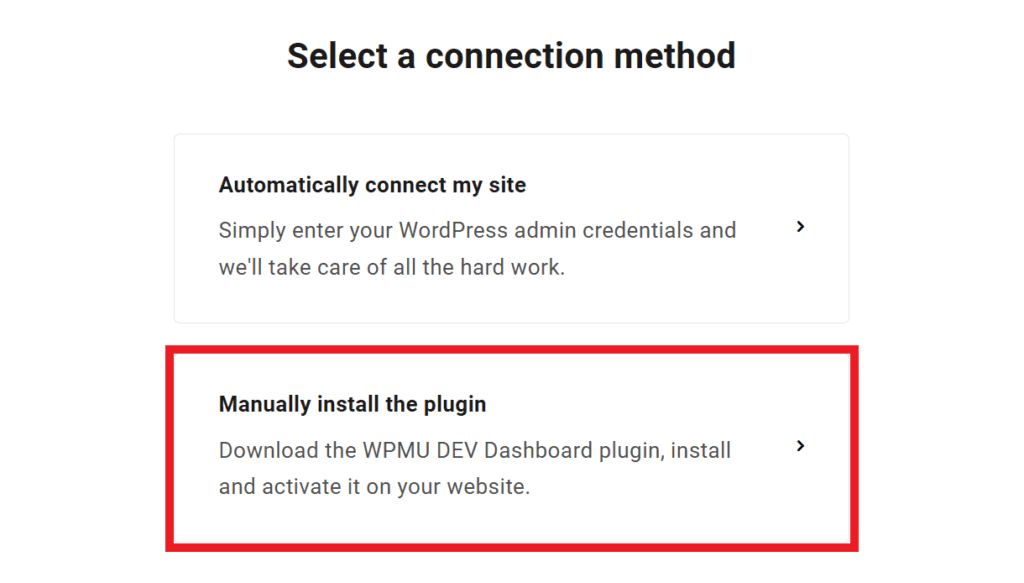
Quando estiver conectado ao brouavo.com, vá para o seu Hub e clique no botão + Adicionar site na parte superior para adicionar um novo site. Em seguida, selecione o botão Conectar um site existente opção.

Na tela seguinte, selecione Instalar manualmente o plug-in.
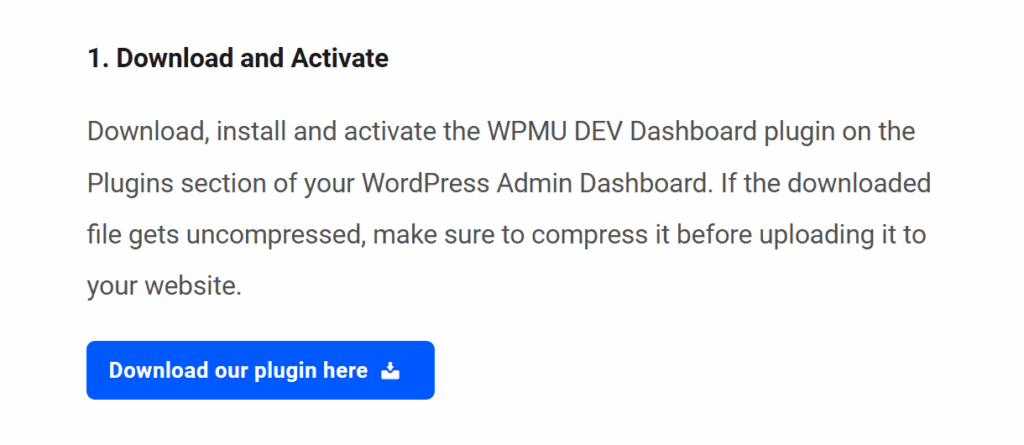
Em seguida, role a tela um pouco para baixo até ver a opção Baixar botão.
DICA PROFISSIONAL PARA USUÁRIOS DO SAFARI
O Safári O navegador descompacta automaticamente os arquivos compactados que você baixa no computador. Isso significa que qualquer .zip O arquivo de plug-in que você baixa é automaticamente descompactado e precisa ser compactado novamente antes de ser carregado no site do WordPress. No entanto, você pode alterar esse comportamento padrão da seguinte forma este guia.
1.2 Instalação e ativação
Faça o upload do plug-in BROUAVO Dashboard no WP Admin
- Abra seu site habilitado para WordPress.
- Passe o mouse sobre o menu Plugins e clique em Adicionar novo para acessar a página de instalação do plug-in.
- Clique em Plug-in de upload e, em seguida, clique em Selecionar arquivo para acessar os arquivos do seu computador.
- Localize o arquivo zip do plugin BROUAVO Dashboard que você acabou de baixar. Clique em Aberto para carregar o arquivo, e o nome do arquivo aparecerá no instalador.

Instalar e ativar o BROUAVO Dashboard
Clique em Instalar agorae uma mensagem "Plugin installed successfully" (Plugin instalado com sucesso) será exibida junto com o botão Activate Plugin (Ativar plugin) quando a instalação for concluída. Clique em Ativar o plug-in para ativar o plug-in do Dashboard.
Será solicitado que você se conecte ao BROUAVO para sincronizar seu site com o The Hub. Digite o nome de usuário e a senha da sua conta BROUAVO e clique em Conectar.

Parabéns! Você instalou com sucesso o BROUAVO Dashboard, sincronizando seu site com o The Hub, desbloqueando recursos profissionais e fornecendo acesso instantâneo à nossa brilhante equipe de suporte.
1.3 Obter suporte
Se ainda tiver dúvidas ou precisar de ajuda depois de ler este documento, não hesite em entrar em contato com nossos super-heróis de suporte usando as opções disponíveis em Guia Suporte em seu Hub ou por meio do Guia Suporte em seu Painel de Controle BROUAVO.